
 Tweet
Tweet
In a (previous thread, Loring asked about sawing into usable boards some oak limbs from a tree in his yard. I replied that I had built a version of the "Bandsaw Lumber Maker" that was featured in the May 2007 issue of Wood Magazine, and that I would post some photos. Wood Magazine does have a video about the use of the jig, so I'll defer to that video for finer details about how to use the jig.
I followed the plans fairly closely, with the exception that I made the jig about 12" longer than described. I wanted a little more length for potential use with longer stock. The tradeoff was that the jig (3/4" baltic birch plywood) is a little heavier.
Please note that the bandsaw was not running during the time I was taking pictures. For some photos, I turned off the bandsaw mid-cut, took the picture, and then turned on the bandsaw and resumed the cut.
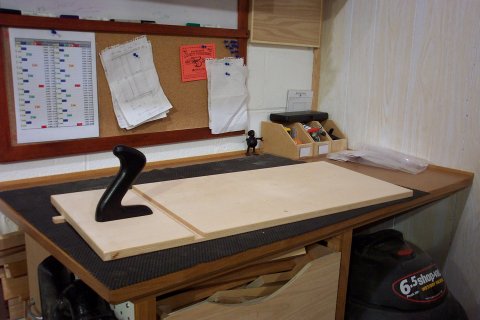
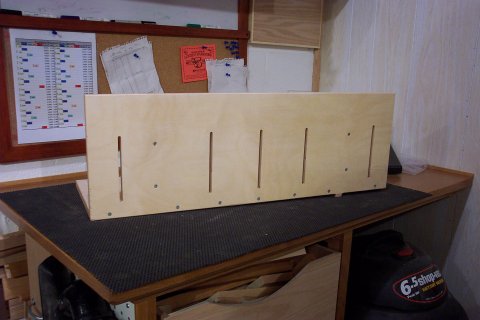
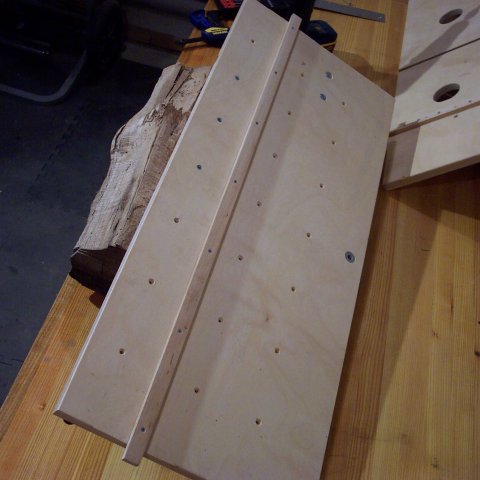
The base: I added an easy to remove handle to aid control of the jig and the log. The Wood plan lacked this feature. I'm glad I added the handle (purchased from Rockler during a 2-for-one sale). I think the added control is important to safety.
The underside of the base: I used maple for the miter-slot runner. The t-nut in the center on the outside edge is for locking the fence to the base when both are used in a milling operation. I didn't care for the way Wood Mag designed this part; they had more pieces than necessary.
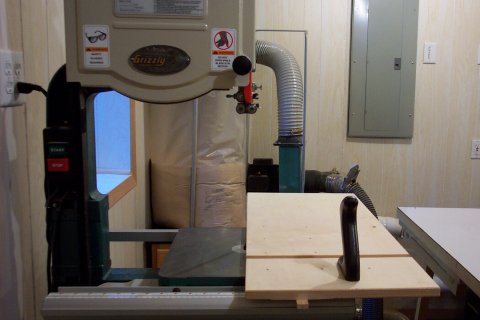
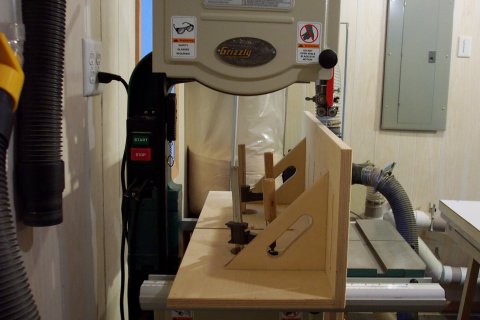
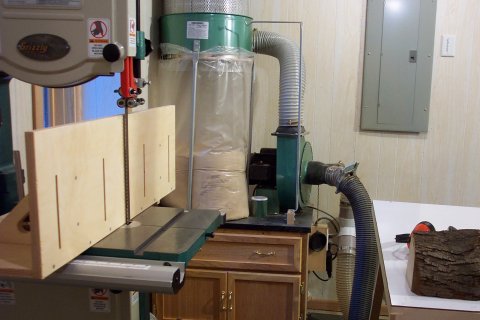
The base and the bandsaw: The base is initially made so that the base to the left of the miter-slot extends past the blade. Running the base through the blade trims the base to final width.
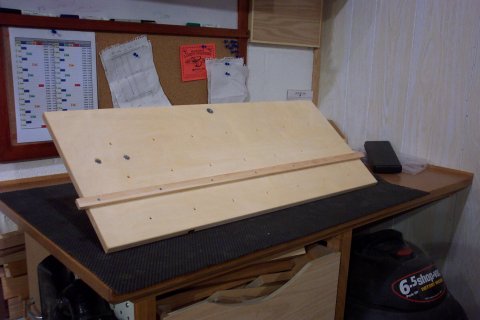
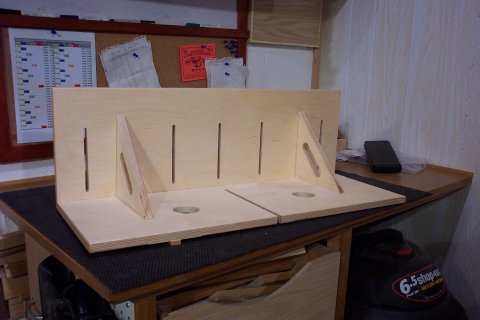
The fence's backside: I added length to the fence, but stuck with the plan for fence height. The added length required additional slots for attaching stock (if necessary) to the fence. I also had to cut holes into the base of the fence in order to be able to clamp the fence to the bandaw table.
The fence's bladeside: The added length means that I don't have to mess with removing the miter runner attached to the base of the fence when I want to use the fence alone. This miter runner rides in a slot in the base when both parts are used together.
Fence attached to the bandsaw table: Clamping the fence to the bandsaw and setting the thickness of cut can be a little fussy. When funds allow, I think I may purchase two Magswitches to make the process quick and easy.
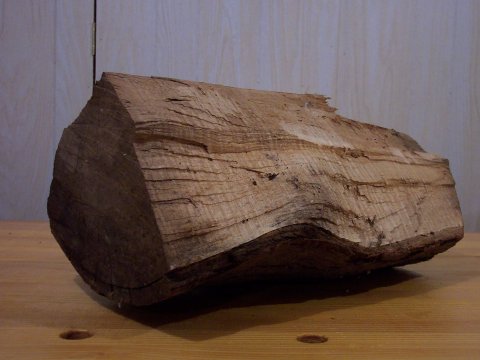
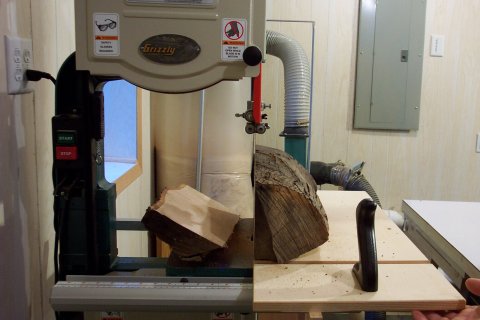
The log: This is a chunk (about 5" x 7" x 18") of soft maple pulled from the firewood pile. The chunk is about 3 years old. I did use a hatchet to hack off a few high spots so that I could have a flat face for mounting the log to the base.
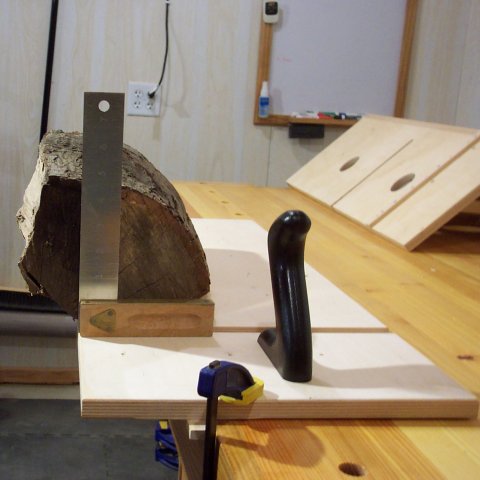
Attaching the log: I clamp the base to my bench and fiddle with the placement of the log until enough hangs over the edge to give a full flat face. I also make sure that there is sufficient surface area contacting the base of the sled. Then I screw the log to the base from below. I use 1" flathead screws.
Attached log: This just shows placement of the screws from below.
Sawing a flat face: The first goal is to establish one flat face. The offcut gets sent back to the fireplace pile.
I crosscut the end, and use the fresh end to help establish the cutline for the other face:
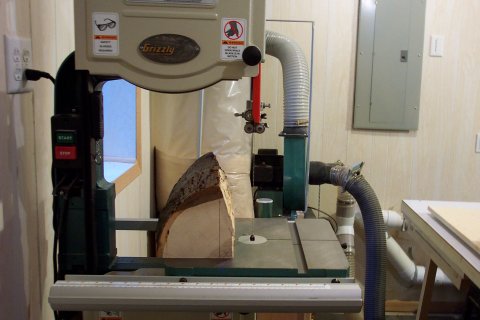
I reattched the log to the base and squared the log.
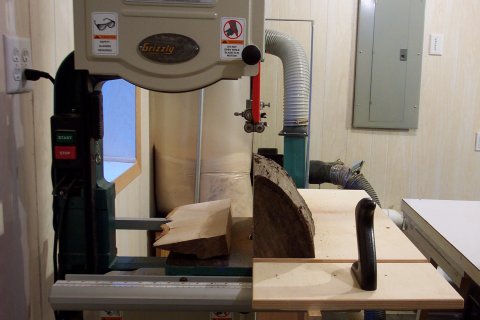
For this demonstration, I attached the fence and set the distance to about 3/16" from the blade. I don't have a project in mind for the thin boards.
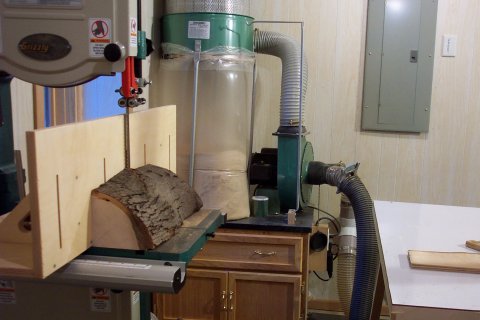
Slice away: I kept running the log through, making sure to stack the cut pieces in the order they were removed from the log. Again, I stopped the cut, turned off the bandsaw, took the picture, then resumed the cut.
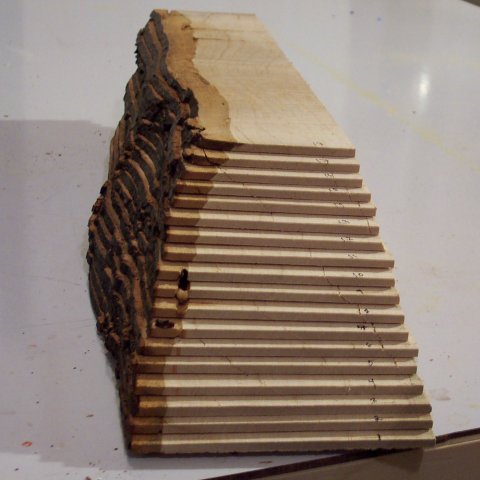
The final stack: The width of ranges from 2" to 4" of usable stock. There are 18 slices, and one larva carcass.
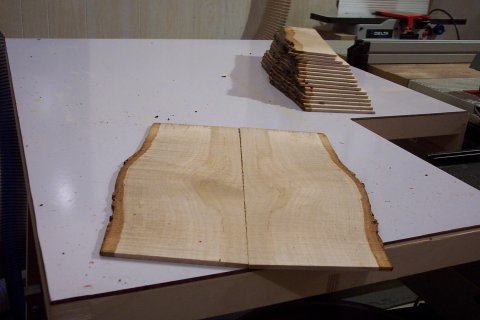
The 18 slices give many interesting bookmatch options, one is below:
Next up: I have some sections of a trunk from a neighbor's ash tree that blew down in a storm last summer. I need to quarter the sections first.
Thanks for looking.
I followed the plans fairly closely, with the exception that I made the jig about 12" longer than described. I wanted a little more length for potential use with longer stock. The tradeoff was that the jig (3/4" baltic birch plywood) is a little heavier.
Please note that the bandsaw was not running during the time I was taking pictures. For some photos, I turned off the bandsaw mid-cut, took the picture, and then turned on the bandsaw and resumed the cut.
The base: I added an easy to remove handle to aid control of the jig and the log. The Wood plan lacked this feature. I'm glad I added the handle (purchased from Rockler during a 2-for-one sale). I think the added control is important to safety.
The underside of the base: I used maple for the miter-slot runner. The t-nut in the center on the outside edge is for locking the fence to the base when both are used in a milling operation. I didn't care for the way Wood Mag designed this part; they had more pieces than necessary.
The base and the bandsaw: The base is initially made so that the base to the left of the miter-slot extends past the blade. Running the base through the blade trims the base to final width.
The fence's backside: I added length to the fence, but stuck with the plan for fence height. The added length required additional slots for attaching stock (if necessary) to the fence. I also had to cut holes into the base of the fence in order to be able to clamp the fence to the bandaw table.
The fence's bladeside: The added length means that I don't have to mess with removing the miter runner attached to the base of the fence when I want to use the fence alone. This miter runner rides in a slot in the base when both parts are used together.
Fence attached to the bandsaw table: Clamping the fence to the bandsaw and setting the thickness of cut can be a little fussy. When funds allow, I think I may purchase two Magswitches to make the process quick and easy.
The log: This is a chunk (about 5" x 7" x 18") of soft maple pulled from the firewood pile. The chunk is about 3 years old. I did use a hatchet to hack off a few high spots so that I could have a flat face for mounting the log to the base.
Attaching the log: I clamp the base to my bench and fiddle with the placement of the log until enough hangs over the edge to give a full flat face. I also make sure that there is sufficient surface area contacting the base of the sled. Then I screw the log to the base from below. I use 1" flathead screws.
Attached log: This just shows placement of the screws from below.
Sawing a flat face: The first goal is to establish one flat face. The offcut gets sent back to the fireplace pile.
I crosscut the end, and use the fresh end to help establish the cutline for the other face:
I reattched the log to the base and squared the log.
For this demonstration, I attached the fence and set the distance to about 3/16" from the blade. I don't have a project in mind for the thin boards.
Slice away: I kept running the log through, making sure to stack the cut pieces in the order they were removed from the log. Again, I stopped the cut, turned off the bandsaw, took the picture, then resumed the cut.
The final stack: The width of ranges from 2" to 4" of usable stock. There are 18 slices, and one larva carcass.
The 18 slices give many interesting bookmatch options, one is below:
Next up: I have some sections of a trunk from a neighbor's ash tree that blew down in a storm last summer. I need to quarter the sections first.
Thanks for looking.


Comment